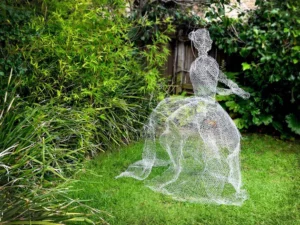
October is here and if you haven’t started to decorate for fall and Halloween, we have an easy DIY project that you can use with some old scrap chicken wire.
Want to freak out your neighbors? We do! Here’s a step-by-step tutorial on how to make a chicken wire sculpture in your garden just in time for Halloween! An amazing realistic chicken wire ghost!
- Hex Netting 20 Gauge – Which you can buy at Far North International
- Made of 20 gauge steel wire
- Long lasting and weather resistant
- Hex netting with 1-inch openings
- Measures 50-feet by 24-inch width
Instructions – 5 Steps:
Step 1:
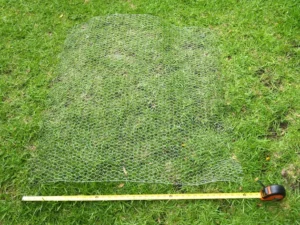
Cut a piece of chicken wire to form a cylinder. Cylinder Circumference: would comfortably fit around your own hips. Cylinder height: from the ground until above your waist.
The cut piece of wire has cut-open hexagram spokes on the side(s) where you just cut it off your roll of chicken wire. Now weave these cut-open hexagram spokes with one-another so as to close the cylinder shape. Now the cylinder shape stands up on its own.
TIP:
don’t make a straight cylinder, but rather one whereby the top diameter is smaller than the diameter at the bottom. This will make your sculpture more stable. This first cylinder shape is going to be the legs & waist of your ghost sculpture.
Step 2:
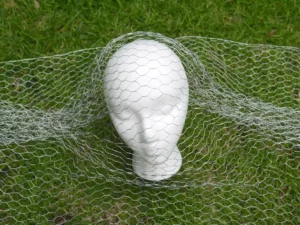
Make a second cylinder for the upper-body. The diameter of this cylinder should be smaller than the ones of the legs-waist cylinder. Overlay and attach it to the first circle and mold the overall form with your hands to make it look like a spooky figure.
Step 3:
Cut a smaller piece to shape into a head form with neck/shoulders/chest and place it on top of the other two pieces of chicken wire and weave in the ends to attach it to the ghost sculpture.
Step 4:
Now it is time to give the ghost a certain pose. Use an image or freestyle it!
Step 5:
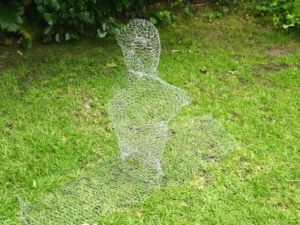
Adjust your sculpture as needed. It doesn’t need to be perfect – after all, it’s a ghost! It does not have to be exactly life-like in shape.
And you’re done! You can go an extra step and hang the sculpture to a tree to let it swing in the wind and/or spray
paint the sculpture with glow-in-the-dark paint for an amazing night time glow!
Credit for this tutorial goes to finecraftguild.com

