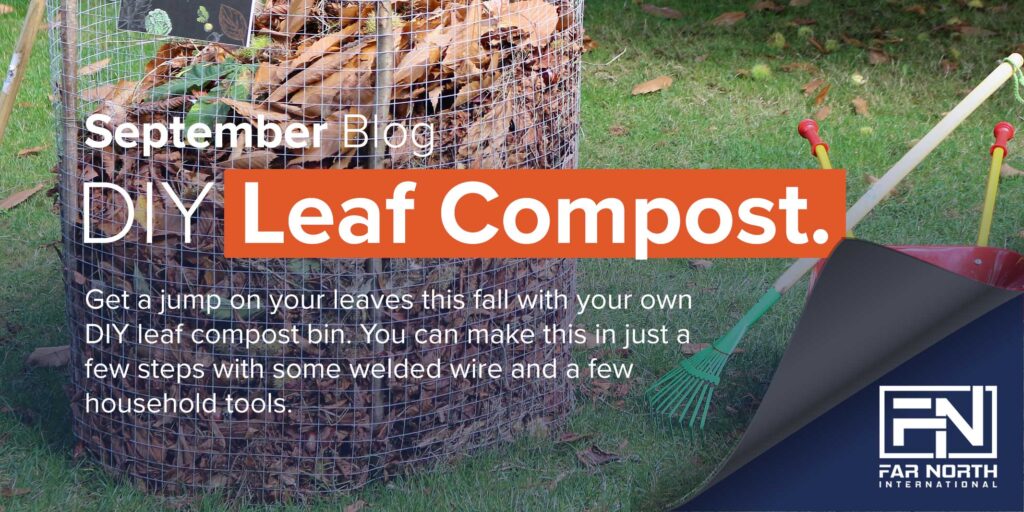
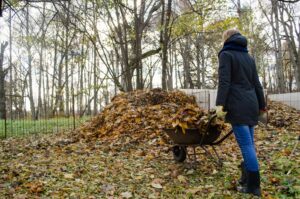
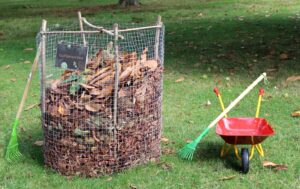
 Composting might not be the prettiest thing in the world, but it sure is beneficial to the environment. Composting is an easy and effective way to help reuse products that can be recycled more organically. Lets skip the mess and keep this composting project outside, with a DIY leaf composting bin. Composting leaves is a great way to make your own nutrient rich matter that can be used in your garden. It can also improve the overall health of your soil and help your plants grow.
Step 1: Gather Materials
To get started on your DIY leaf compost bin, you’ll need the following materials:
- Welded wire mesh
- Wire cutters
- Pliers
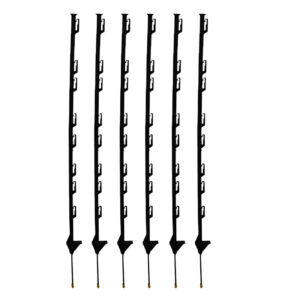
- Steel stakes or wooden posts
- Zip ties or wire
- Gloves (to protect your hands during construction)
Step 2: Determine the Size and Shape.
While the size of your compost bin can be determined by a few factors, like how much space you have in your yard, or even how much welded wire you have if you’re using recycled materials. A common size for a leaf compost bin is 3x3x3. If you have a larger yard or a lot of trees you might want to make a larger bin.
Step 3: Construct the Bin.
Using the wire cutters, carefully trim the welded wire mesh to match the desired dimensions of your compost bin. Once cut, roll the wire mesh into a cylindrical shape, overlapping the edges to create a secure enclosure. Use the pliers to twist the overlapping edges together, ensuring a sturdy structure.
Place the newly constructed wire mesh cylinder in the desired location for your compost bin. Drive steel stakes or wooden posts into the ground around the perimeter of the bin, ensuring stability. Attach the wire mesh to the stakes using zip ties or wire, making sure it is firmly anchored.
Step 5: Fill the Bin.
Now that your DIY compost bin is secure, it’s time to start filling it with leaves! Collect fallen leaves from your yard or neighborhood, avoiding any that may be diseased or insect-infested. Shred the leaves into smaller pieces to expedite the decomposition process and promote aeration.
Step 6: Maintain and Monitor.
Make sure your compost bin is staying moist, but not overly saturated. Mixing around and aerating the leaves will help speed up the process. Remember to add a balanced mix of green (nitrogen-rich) and brown (carbon-rich) materials to maintain an ideal composting environment.
 Step 7: Harvest and Use Your Compost.
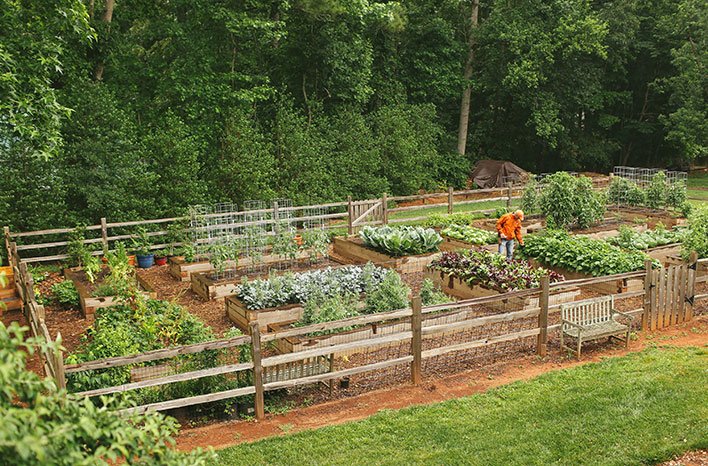
In a few month you will have a dark, rich composting matter. This nutrient-dense matter can be used in your garden or as topsoil in houseplants. Harvest the compost by removing the finished material from the bottom of the bin, leaving any unfinished compost to continue decomposing.
Conclusion: By creating your own DIY leaf compost bin using welded wire, you’re taking a significant step towards sustainable living. Embrace the power of composting to reduce waste, enrich your garden, and contribute to a healthier planet. Remember, this DIY project is not only cost-effective but also provides you with the satisfaction of repurposing materials and making a positive impact on the environment. Get started today and witness the transformation of your garden through the magic of composting! Happy composting!

