Today we are going to look at how to build a rabbit cage! Sure you could buy one, but building it yourself will feel great! Just follow these steps to do it yourself! However, before you start you will need:
- Measuring tape
- Wire cutters
- Wire clip pliers
- Wire cage clips
- Gloves
- 14ga welded wire with 1” x 2” mesh (4 sides and a top)
Note: Small mesh to keep birds out (or in)
Note: Rabbit feet won’t get stuck with this tiny mesh! We want them to stay lucky, right?

Step 1: Unroll the wire on a flat level, make sure to use gloves!

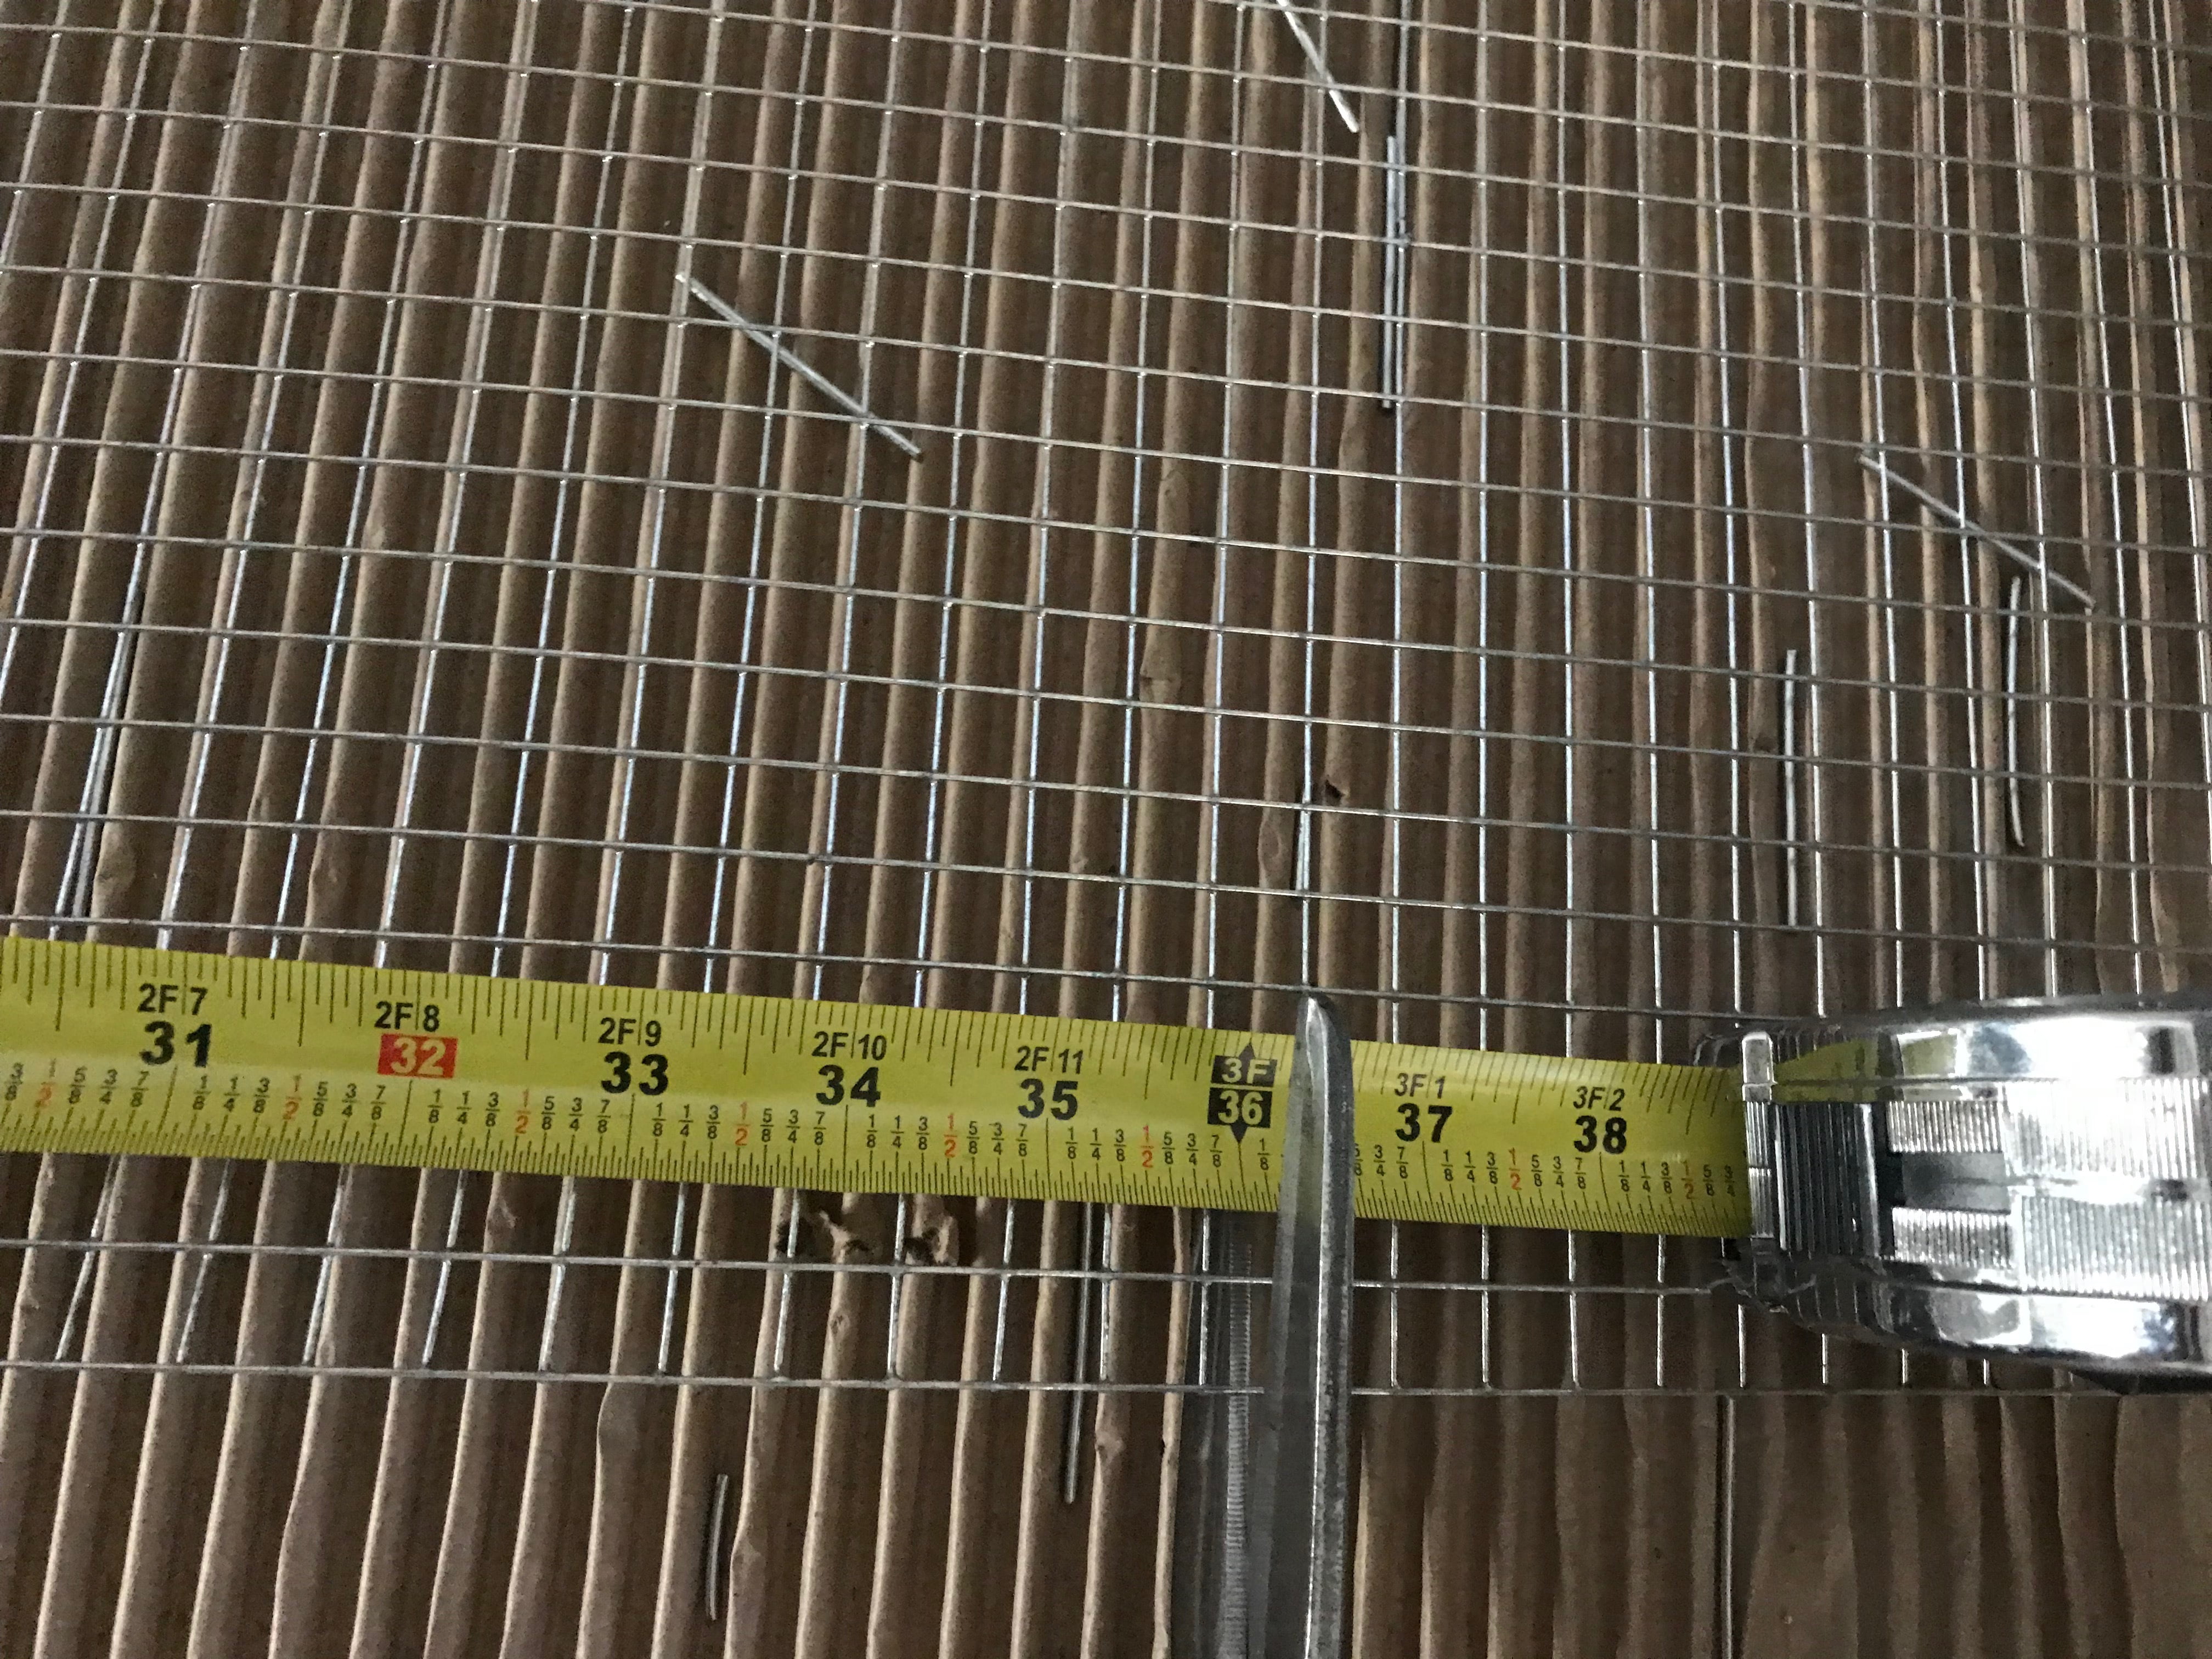
Step 2: Cut 3 pieces 24” x 36” of the 1” x 2” welded wire. For the front, back, the top of the cage.


Step 3: Cut 2 pieces 24” x 24’ of the 1” x 2” welded wire. For the two sides of the cage.


Step 4: Cut 1 piece 24” x 36” of the ½” x ½” Hardware cloth. For the floor of the cage.


Step 5: Start connecting the pieces together using the wire clip pliers.
Note: Start with the back piece and work your way around until you form a square.

Step 6: First connect the corners to keep the wire in place.


Step 7: Put 1 wire clip every two squares.

Step 8: Continue doing steps 6 – 7 to connect all six pieces.


Cage door
Step 1: Cut a door 12” x 12” for easy access.


Step 2: Cut a piece of wire 16” x 14” to cover the doorway.


Step 3: Connect the door cover using the wires clip pliers.
Note: only connect the lower side of the door cover so it can open and close.


There you have it! The size will come out to 36” x 24” x 24” so the rabbit can move around and hop without too much restraint! You can fill it with torn paper, pillows, or blankets to make your rabbit(s) more comfortable. Isn’t it a great feeling? To build something with your own hands? The feeling of self- accomplishment is unparalleled; and just like you can build this cage by yourself, you can build yourself up and do anything you want to do!


